入手WindowsPhone8.1
现在的生活节奏很乱,忽然发现好久没有更新博客了。恰好周二从国美电器购得的Nokia Lumia530到了,把玩了快一星期了,想写点入手后的感想。
拆箱图如下: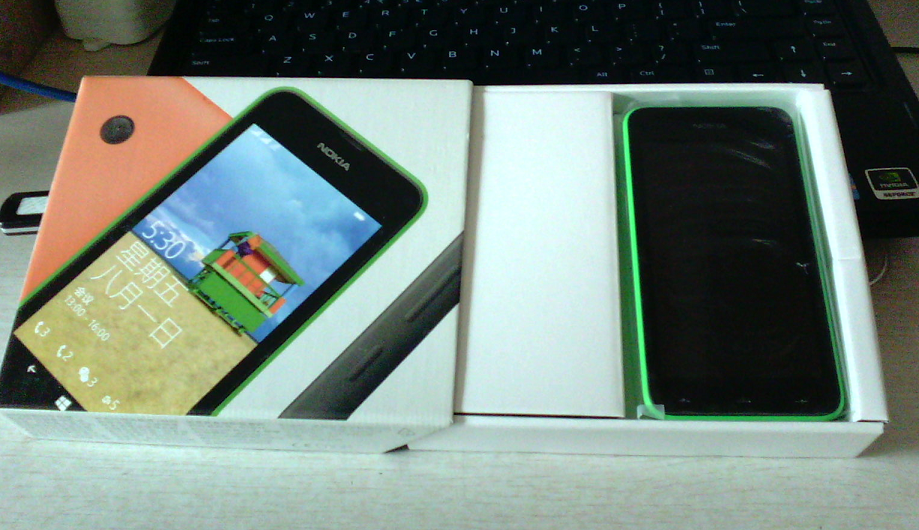
因为现在还在学生阶段,手头不宽裕,这次换手机选择了这款超级低价的WindowsPhone入门机,加邮费接近430RMB。
之前用腻了安卓机,听人说WP手机还是不错的,而且毕竟是诺基亚出品,质量有口皆碑啊。
Nokia Lumia530的配置非常低端,内存512MB,4寸显示屏,无前置摄像头,无调焦传感器之类,无需再述。这里我要谈的是优点:
- 可以更新到最新的WindowsPhone系统,带有Cortana(中文版叫做小娜),将来应该可以更新到Win10。
- 虽然内存大小只有512MB,但运行起来感觉还是比较流畅的,界面切换和滑动不存在明显的卡顿;至于运行应用方面,官方商店的多数应用和游戏可以安装并流畅使用。下面放几张截图:
Metro界面: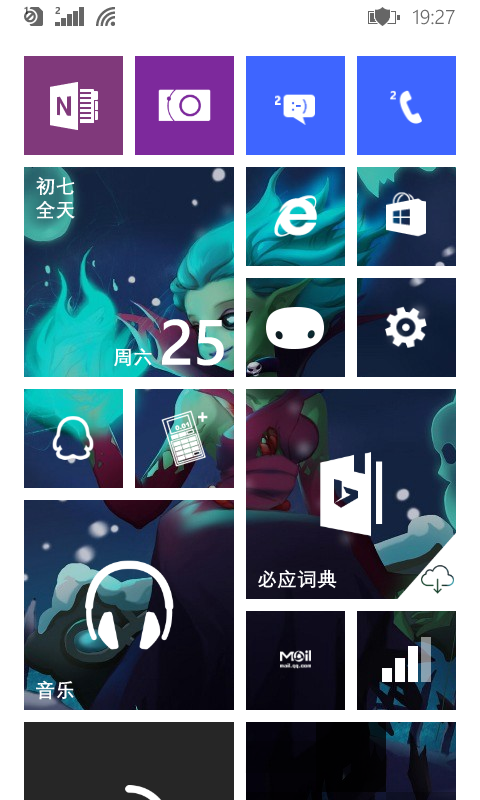
小娜: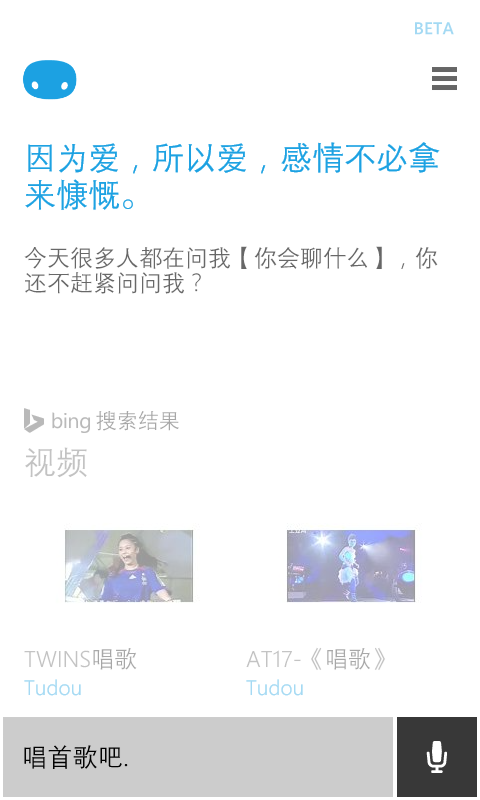
锁屏界面: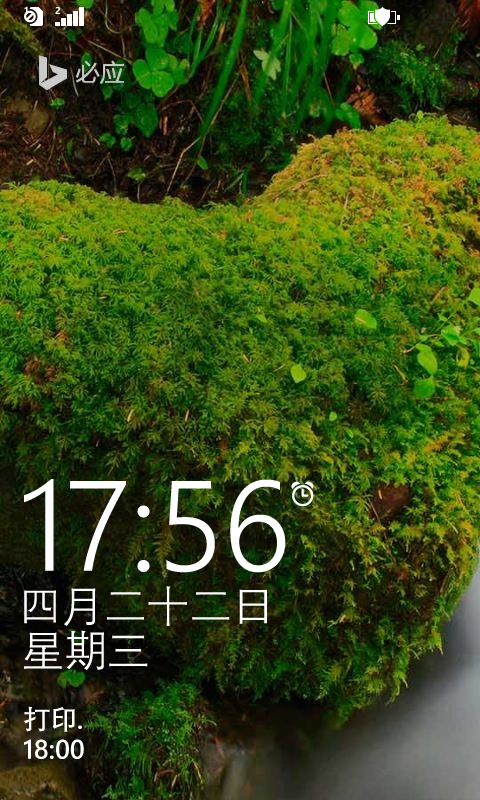
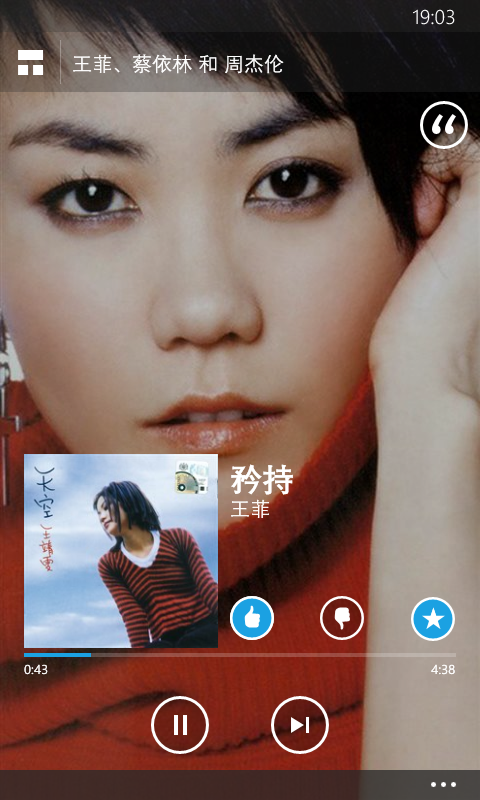
总的来说,这款机型可以完整体现WindowsPhone8.1的特色,是用来尝试WP系统的不错选择。其实自己喜欢的,用起来顺手就好。最后上一张天后王菲的Music截图: